How to Photograph Your Mid-Century Modern Home Like a Pro – Using Your iPhone
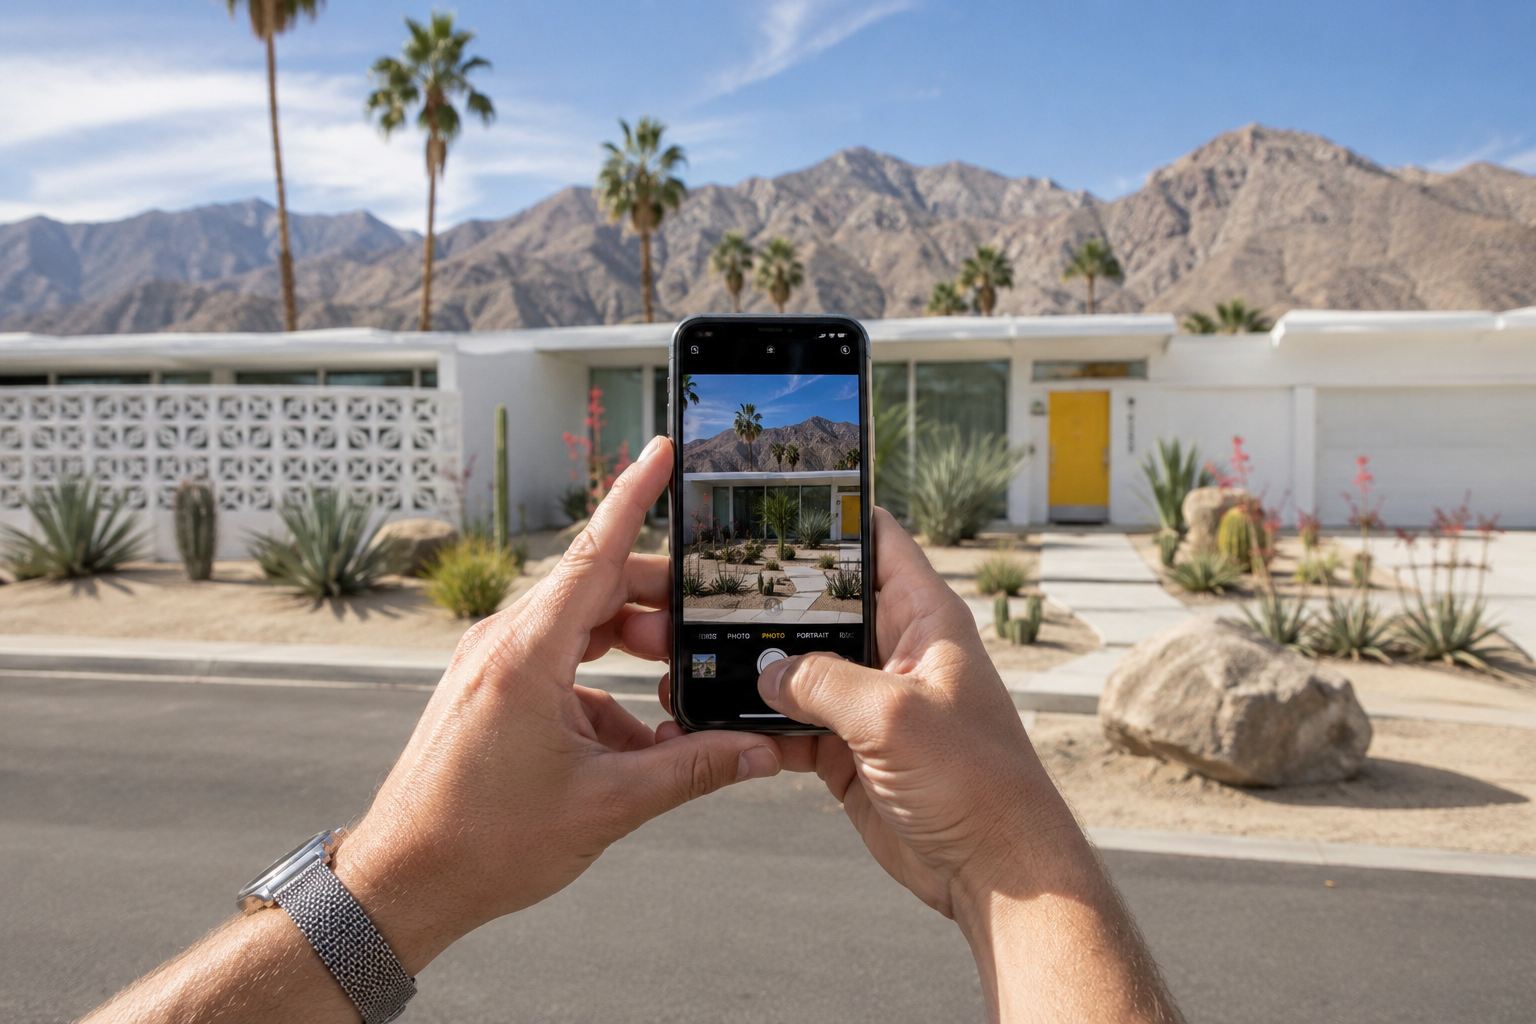
A practical guide to capturing your MCM home at its absolute best.
I’m not a professional photographer. But over the past year, I’ve photographed dozens of Meiselman homes for the Registry. I’ve worked alongside some incredibly talented architectural photographers in Palm Springs, and learned a whole lot about what makes a mid-century modern home look stunning in a photograph. And here’s what I’ve learned: you don’t need a $2,500 digital camera with a bunch of lenses to take beautiful images of your home. You just need to understand a few fundamentals — and be willing to set your alarm.
The truth is, your iPhone is a remarkably good camera. And midcentury modern homes — with their clean lines, dramatic rooflines, and thoughtful integration with the desert landscape — are naturally photogenic subjects. Your job is to show up at the right time, prep your home thoughtfully, and enjoy the process.
So, whether you’re documenting your home for the Registry, posting to Instagram, or getting ready to list your property for sale, here are some tips about photographing mid-century modern homes with your iPhone.
Step 1: Prep Your Home Like a Pro
Before you even think about picking up your camera, you need to stage your home. I learned this the hard way — I shot an entire property early on and only realized later that half my photos had a garden hose snaking through the frame, a pile of pool toys in the corner, and a toilet brush visible in the bathroom. Rookie mistakes. Don’t be me.
Declutter and Depersonalize
Less is more. Remove anything that’s not essential to your daily routine — and if you think you need it daily, you probably don’t. Put away magnets on the fridge, clear countertops of small appliances, tuck toiletries into cabinets, hide cleaning supplies under the sink. If you’ve got family photos on every surface or a collection of tchotchkes on the mantel, now’s the time to pack them up.
I know it feels impersonal, but people want to see your home, not your stuff. And clutter makes your home feel small — even if you’ve got tons of space.
PRO TIP: If you’re working with limited storage, put things in boxes that you can move from room to room as you take pictures of each room.
Clean Everything (and I Mean Everything)
Spotless is the goal. Clean the baseboards. Wipe down the walls. Vacuum or mop every floor. Wipe down your appliances so they shine. If your carpets look tired, have them professionally cleaned or replaced.
The camera picks up details you’d never notice with the naked eye. A smudge on a window. A stain on a carpet. A water spot on the countertop.
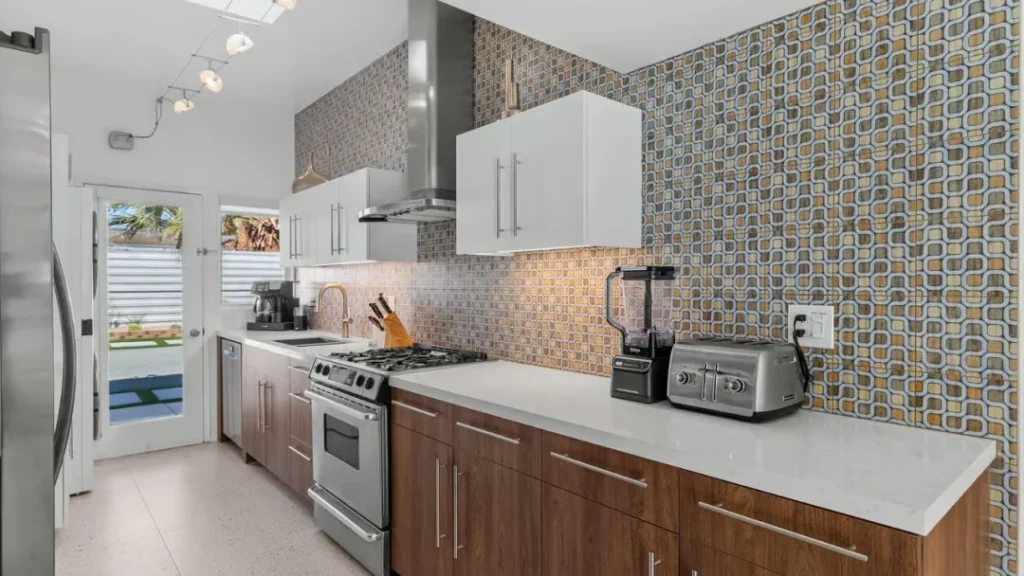
Bathroom and Kitchen Details
Pay special attention to the bathroom and kitchen. In the bathroom: put the toilet lid down, hide the toilet brush and plunger, remove the soap dispenser and sponges, and put away the towels. In the kitchen: clear the counters completely, hide the sponges and soap dispenser, and remove everything from the fridge door.
Let in Natural Light
Open all your blinds and curtains. Pull back anything that’s blocking your windows. Light makes your home look more open, spacious, and airy.
Turn On Every Light in the House
Turn on every single light in your home. Overhead lights, lamps, sconces, under-cabinet lighting, landscape lighting, pool lighting — everything. This is especially important if you’re shooting during the blue hour (more on that in a minute), because you want your home to glow warmly from the inside. But even during daytime shoots, having your lights on adds warmth and helps eliminate shadows in darker corners.
Yes, you’ll get a mix of warm artificial light and cool natural daylight, but digital editing tools on your iPhone handle this beautifully. The payoff — a bright, inviting, well-lit home — is absolutely worth it.
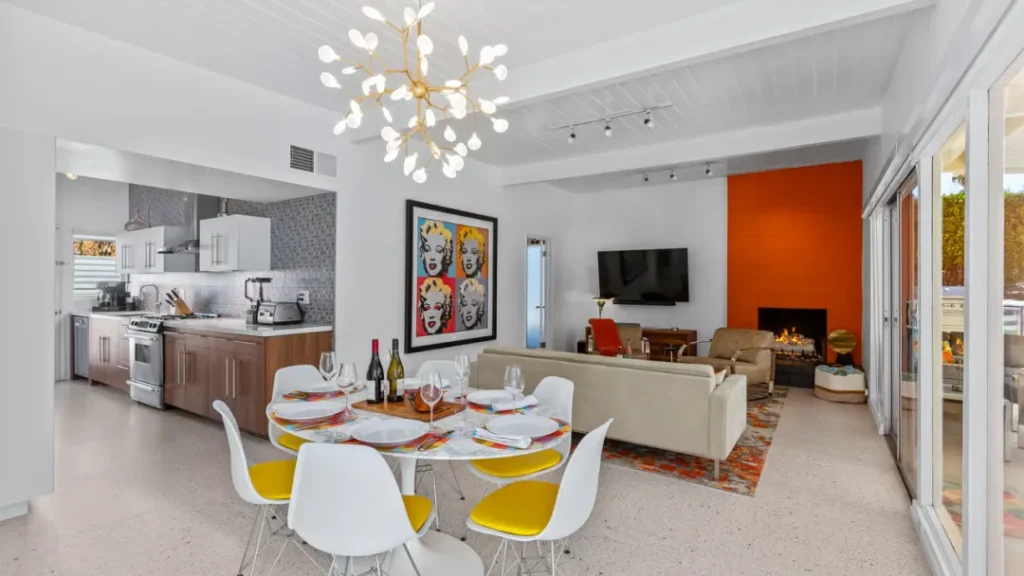
Don’t Photograph an Empty House
If you’ve moved out or are between tenants, resist the urge to photograph empty rooms. It’s nearly impossible for viewers to judge the scale of a space when it’s completely bare, and empty rooms can look smaller than they actually are. If you don’t have furniture, consider renting or staging with a few key pieces — a sofa, a coffee table, a bed frame. Even minimal staging makes a massive difference.
Up Your Curb Appeal
The exterior is the first thing people see — both online and in person. Make it count. Take photos right after your landscaper has come. And here’s a detail that matters more than you’d think: move your cars. Get them off the driveway and out of the frame entirely. Unless it’s a classic car from the 1950-1960s, cars distract from the architecture.
Step 2: Timing Is Everything — When to Shoot
If I could pass along one piece of advice, just one, it would be this: light matters more than anything else. More than your camera. More than your composition. And in Palm Springs, light is both your greatest asset and your biggest challenge.
The Golden Hours (Set Your Alarm)
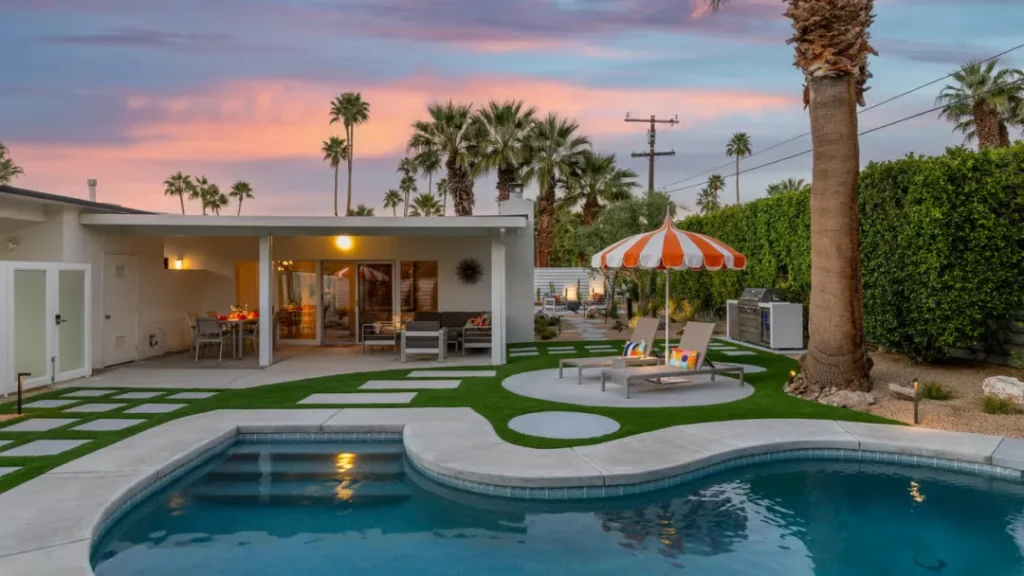
Golden hours are the 60-minute windows after sunrise and before sunset when the sun is low in the sky and casts a warm, horizontal, flattering light. In the desert, it’s magic. The mountains glow pink. Shadows get long and dramatic. And your home’s architectural lines — those clean horizontals, those deep overhangs, that MCM roofline — become three-dimensional in a way they simply aren’t at noon.
Figure out which direction your house faces. If your front elevation faces west, you want late afternoon golden hour. East-facing? Get up early. The effort is absolutely worth it.
PRO TIP: The Weather app on your iPhone shows you when sunrise and sunset are on any given day. Use it to plan your photo shoot.
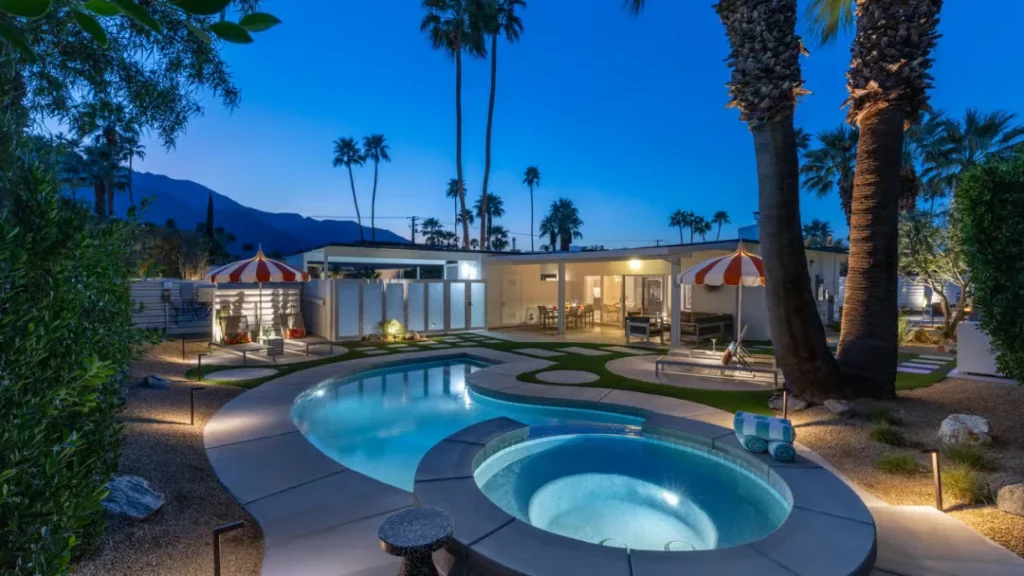
The Blue Hour
Equally stunning – and underrated – is the blue hour, which happens in the 20–30 minutes just after sunset (or just before sunrise). The sky turns a deep, rich blue, and if you’ve turned on all your interior, pool, and landscape lighting, your home glows warm against that cool background. It’s one of the most cinematic looks you can get, and iPhones handle it remarkably well.
The trick with blue hour is speed — you’ve got a short window before it goes fully dark. So have your shots all planned out before the sun goes down, so you’re ready to get to it when the light hits.
PRO TIP: Blue hour is for exteriors only. Don’t photograph your interiors at night — the mix of artificial light and dark windows creates color problems that are hard to fix. Save interior shots for daytime when you’ve got natural light pouring in.
Follow the Sun for Exterior Shots
Not all sides of your home will look their best at the same time of day. If your front faces east, shoot it in the morning. If your backyard and pool face west, shoot them in the late afternoon. Be patient and wait for the right light on each elevation.
What to Avoid: Midday Sun
That harsh midday desert sun — roughly 10 a.m. to 3 p.m. — is your enemy when taking outdoor shots. It flattens everything. It creates ugly shadows directly under roof overhangs and turns your windows into black holes. This is the best time to head indoors and focus on taking interior shots.
Check the Weather
Partly cloudy can be beautiful — it creates diffused, even light. Bright blue skies are the best for desert photography, but avoid shooting right before a storm when the light gets flat and gray.
Step 3: Composition — Making the Most of MCM Architecture
Once you’ve got good light, composition is the difference between a good and a lousy shot. The good news is that mid-century modern architecture basically teaches you how to compose — the lines are already doing the work. Your job is to follow their lead.
Use Both Landscape and Portrait Orientation
For most architectural photography, landscape (horizontal) orientation is the way to go. It captures the width of a room, shows more context, and makes rooms feel more spacious. But don’t ignore portrait (vertical) shots entirely – they’re great for showcasing tall features like floor-to-ceiling windows, clerestory stacks, or vertical architectural elements like stone accent walls. Mix both orientations to give viewers a complete sense of the space.
Find the Strong Diagonal
One of the most powerful compositional moves with a flat-roofed or butterfly-roofed MCM home is to position yourself slightly off-center and let the roofline create a strong diagonal across your frame. This adds dynamism and depth. Straight-on, symmetrical shots can work beautifully for certain homes — especially those with strong bilateral symmetry — but the diagonal is almost always more interesting.
Use the Grid (Rule of Thirds)
Turn on your iPhone’s grid overlay (Settings > Camera > Grid). This divides your frame into nine equal sections. Place your horizon line on one of the horizontal thirds — not dead center. Put your most interesting architectural element at one of the four intersection points. This is called the rule of thirds, and it’s not just an arbitrary rule — it’s how human eyes naturally scan an image.
Shoot Toward the Corners to Capture Two Walls
Here’s a technique I learned from one of the photographers I worked with: when shooting interiors, aim your camera toward the corner of the room so you’re capturing two walls, not one or three. One wall looks flat and boring. Three walls makes the space feel narrow and cramped. Two walls creates depth, movement, and a three-dimensional feel that draws the viewer into the room.
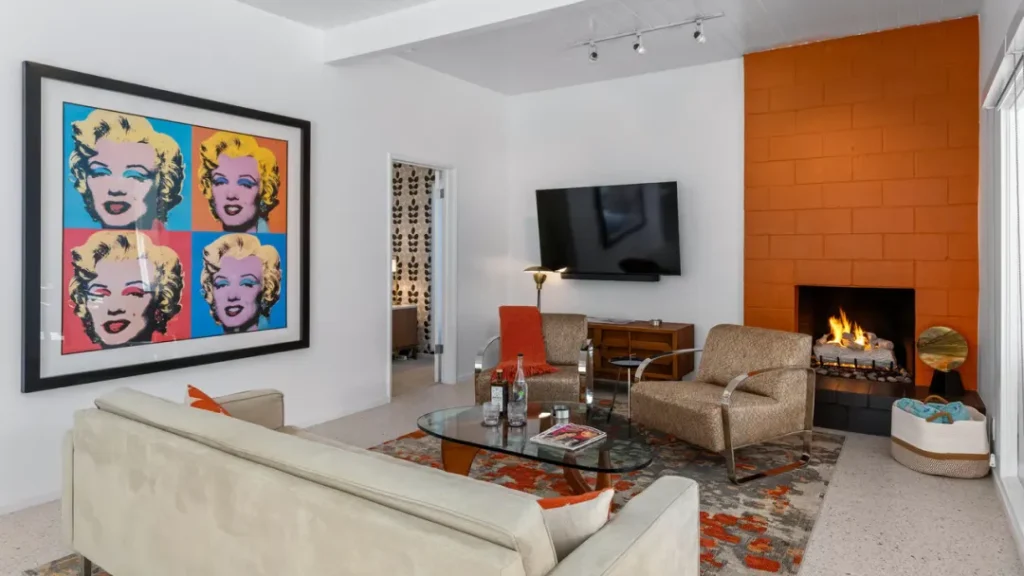
This is especially effective in open-plan MCM homes where one corner might reveal the living room flowing into the dining area and out to the patio through a wall of glass.
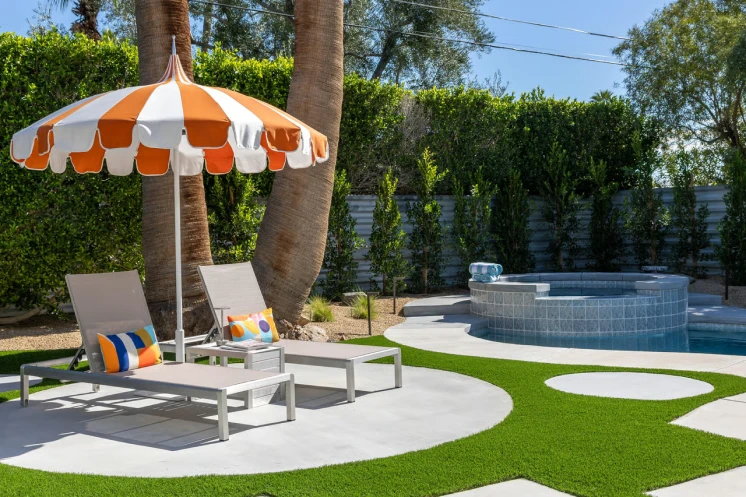
Get Low — or Go High
This is the move that separates snapshots from photographs. For exterior shots, get lower than you think you need to. I’m talking crouch down, or even sit on the ground. A low angle — roughly 2 to 3 feet off the ground — emphasizes your home’s horizontal planes, exaggerates the sense of space, and puts the sky prominently in your frame (which in Palm Springs is almost always a good thing). It also makes your desert landscaping — cactus, agave, bougainvillea — read as foreground elements that add depth.
For interiors, shoot at chest height – roughly 4 to 5 feet off the ground. This creates the most accurate feel of the space and mimics what a viewer will actually see when they walk into the room. Avoid shooting from above your head or below your chest (which distorts the perspective).
Include a Strong Foreground
When possible, try to find something to anchor the front of your picture. A well-composed desert garden. The edge of a pool. A row of architectural pavers that lead the eye toward the home. Foreground elements create a three-dimensional sense that separates a great architectural shot from a flat real-estate snapshot.
Avoid Converging Vertical Lines
When you tilt your camera up or down too much, vertical lines (like walls and door frames) lean in or out, making the room look distorted. To avoid this, keep your camera level. If you’re shooting a tall feature and need to tilt up slightly, do it sparingly and be prepared to correct it in editing.
Use the Wide-Angle Lens
For interior shots, use your iPhone’s wide-angle 0.5x lens. It captures more of the room, creates a greater sense of space, and is particularly effective in smaller rooms like bathrooms or bedrooms. Just watch for barrel distortion around the edges — objects near the corners can look slightly curved. For exteriors, the main 1x lens is usually most accurate, but the ultra-wide can be dramatic for showing the home in its landscape context.
Step 4: iPhone Camera Settings That Actually Matter
You don’t need to be a settings nerd to take great iPhone photos, but a few adjustments will make a noticeable difference.
Lock Exposure and Focus
By default, your iPhone continuously adjusts both focus and exposure as you move the camera. For architectural photography, you want stability. Tap and hold on the most important part of your scene — usually the home itself — until you see the ‘AE/AF Lock’ yellow box appear. Now exposure and focus are locked until you tap away. This prevents the camera from blowing out your sky or underexposing your facade while you compose the shot.
Use the Exposure Slider
Once you’ve tapped to set focus, you’ll see a small sun icon with a vertical slider. Drag it up or down to manually adjust exposure. If your sky is blowing out to pure white, drag it down. If your facade is too dark, drag it up. Find the balance. You can also shoot two versions — one exposed for the sky, one for the house — and blend them later in editing.
Shoot in ProRAW (If Your iPhone Supports It)
iPhone 12 Pro and later support Apple ProRAW — a lossless, uncompressed format that gives you dramatically more latitude in post-processing. Shadows are recoverable. Highlights aren’t blown. Enable it in Settings > Camera > Formats. The files are larger, but if you’re going to do any editing at all, ProRAW is absolutely worth it.
Step 5: Shooting Interiors and Managing Light
Expose for the Windows
The biggest challenge in interior photography is the extreme difference in brightness between your sunlit windows and your interior room. Try exposing for the window — tap the brightest part of the frame to set exposure. Yes, your interior will be darker. But you’ll have a correctly exposed view outside, and you can lift the shadows in editing far more effectively than you can recover blown-out windows.
Use Editing Apps to Blend
The free Lightroom Mobile app (yes, free — you don’t need a subscription for the basic version) lets you shoot in RAW and then selectively adjust shadows and highlights independently. Lift the shadows slider. Pull down the highlights. Increase clarity slightly to sharpen architectural details. This two-move workflow alone will transform your interior iPhone shots.
Step 6: Pool and Landscape Photography
If your Meiselman home has a pool — and many do — you’re sitting on one of the most dramatic compositional opportunities in residential photography. A still pool acts as a mirror, doubling your home’s visual impact. The trick is catching it when it’s calm.
Early morning, before wind picks up, is usually your best window for still water. Turn off the pool jets the night before. Skim any debris. Then compose so the reflection of the roofline or a key architectural element falls in the lower portion of your frame. The symmetry is stunning.
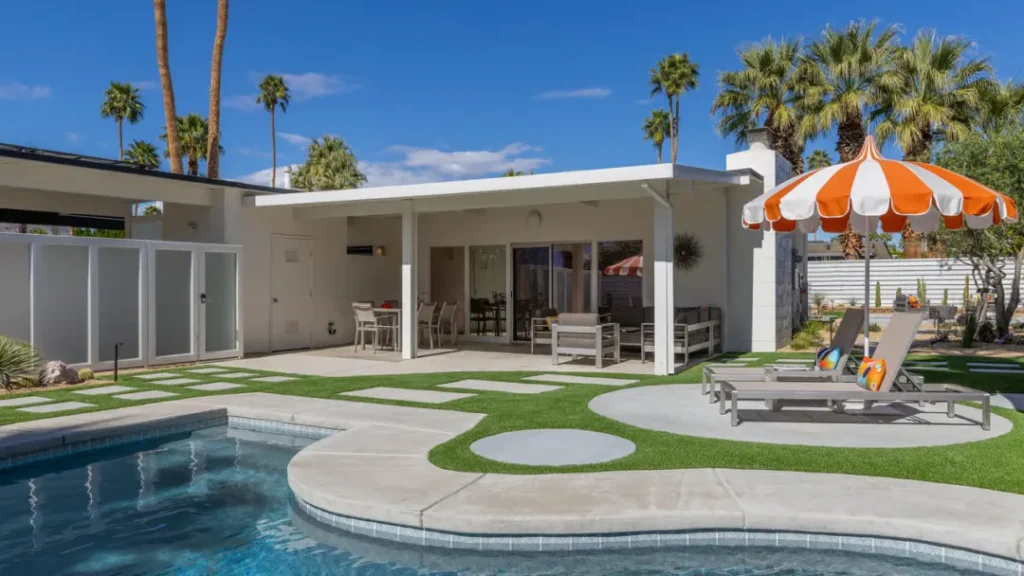
If your pool has color-changing LED lighting, turn it on during blue hour and shoot from a low angle. The way the light plays against the water and reflects onto the underside of the roof overhang is genuinely spectacular — and uniquely mid-century.
Step 7: Editing Your Photos (Keep It Simple)
You don’t need Photoshop. You just need to make simple, thoughtful adjustments that enhance what’s already there.
What to Do
Use your iPhone’s built-in Photos editor to brighten dark areas and tone down overly bright spots. Lift the shadows slider to reveal detail in darker corners. Pull down the highlights slider to recover blown-out skies or windows. Increase clarity or sharpness slightly to make architectural details pop.
Resize for the Web (But Keep High Resolution)
If you’re uploading photos to a listing site or social media, you may need to resize them. Just make sure they still have high resolution — dark, grainy, pixelated images don’t showcase your home well. Aim for at least 1920 pixels on the long edge for web use.
Choose Your Hero Photo Wisely
The first photo in your set — the thumbnail, the hero image — should usually be the front exterior of your home. That’s what people like to see first. That said, if your home has a truly standout feature — like an incredible pool with mountain views, or a dramatic butterfly roof shot at blue hour — that can work as your lead image too. Just make sure it’s eye-catching and represents what makes your home special.
When to Call a Professional Photographer
If you’re listing your home for sale, hire a professional architectural photographer. Full stop. The difference in image quality, lighting control, and composition will directly affect your sale price.
If you’re submitting your home for the Registry, professional images are great, but your iPhone images are perfectly fine. But if you want truly stunning photography — the kind where every interior light is perfectly balanced against a navy sky, the pool glows like a jewel, and the mountains are clearly visible in the background — that requires equipment, planning, and experience that only a professional can deliver.
A Final Word
These homes were designed to be experienced. Jack Meiselman understood that architecture comes alive based on how the light that moves through a home – that the interplay between inside and outside, between shelter and sky, is the whole point. When you photograph your home, be sure to tell that story with your images. You’re honoring the design intention that went into every beam, every floor-to-ceiling window wall, every carefully designed roofline.
So set your alarm for golden hour. And go make something beautiful.
— Rich
Meiselman Registry
P.S. The home featured in this article is available for short-term vacation rental through Acme House Company. Click here for availability and rates.
RELATED RESOURCES ON MEISELMANREGISTRY.ORG
Leave a Reply